
I have a QRP transceiver which does not include its own internal antenna tuning unit (ATU) which has limited how often I can use the radio given the fact that I don’t own any resonant antennas. Every antenna I own, whether it be an end-fed wire or a vertical whip with or without loading coil, requires an ATU between it and the radio for the radio to see a 50 ohm load.
A friend had been keeping an eye out for a QRP ATU for me and one came up for sale recently. The Emtech ZM-2 “tuner” is sold as a prebuilt unit or in kit form. There are two basic types, one with BNC connections for the coax and the other with UHF connections. The item for sale was the BNC kit and the asking price was fair, so I bought it.
At the time of purchase, I had no knowledge of the ZM-2, but it was clear that the device was well favored amongst hams who have used it and have shared their experiences online in video and text forms. The ZM-2 has been available since at least a decade ago (the oldest YouTube video I came across was from 10 years ago, anyway) and everything I saw or read about the thing suggested it was a must-have. The kit form factor was appealing since I enjoy a good opportunity to refine my soldering skills. I was only slightly concerned about having to solder together the leads of the components to make the circuit. To assuage those concerns, I purchased a decent helping hands set to give me a solid platform to work from.
The Emtech ZM-2 kit comes with two faceplate labels printed on adhesive-backed matte paper. This is prone to finger smudging and moisture, so it’s perhaps recommended to provide some form of protection once the label is affixed to the ZM-2’s control plate. The documentation that comes with the kit suggests using a few coats of clear lacquer, and that’s the option I chose to follow. In hindsight, I might have tried something different, but the outcome is satisfactory. The lacquer and the printer toner on the paper didn’t exactly fall in love at first sight. This might have been avoided had I sprayed a very light misting as the initial layer to avoid allowing the paper to soak up the lacquer too much. Anyway, you’ll notice some bleeding near some of the stenciled text and marks in my photos. This is what caused them.
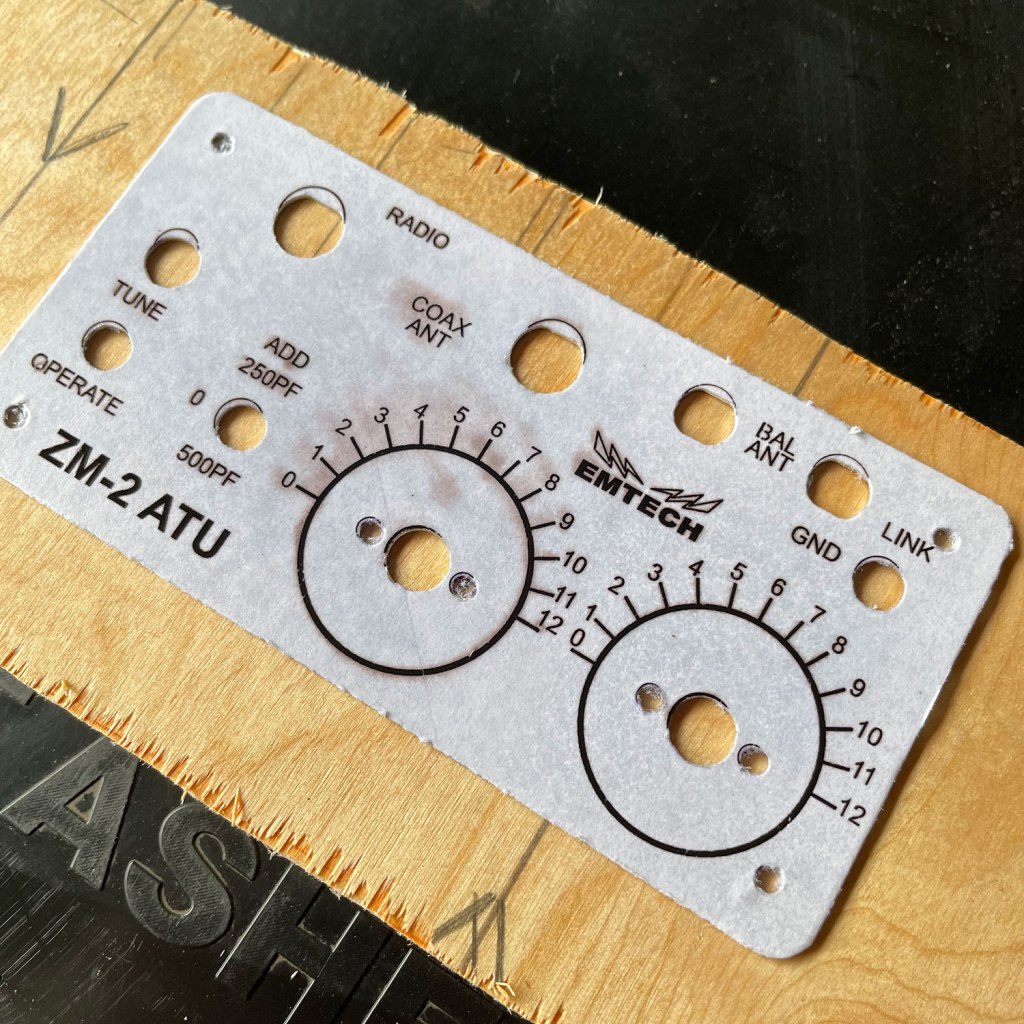
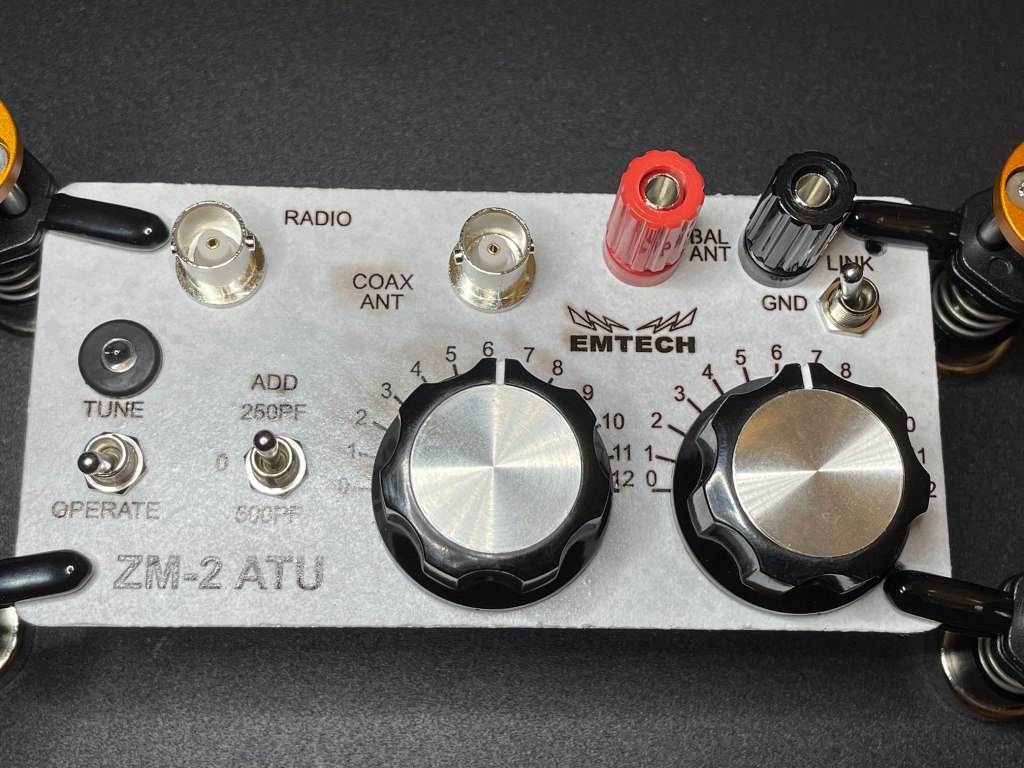
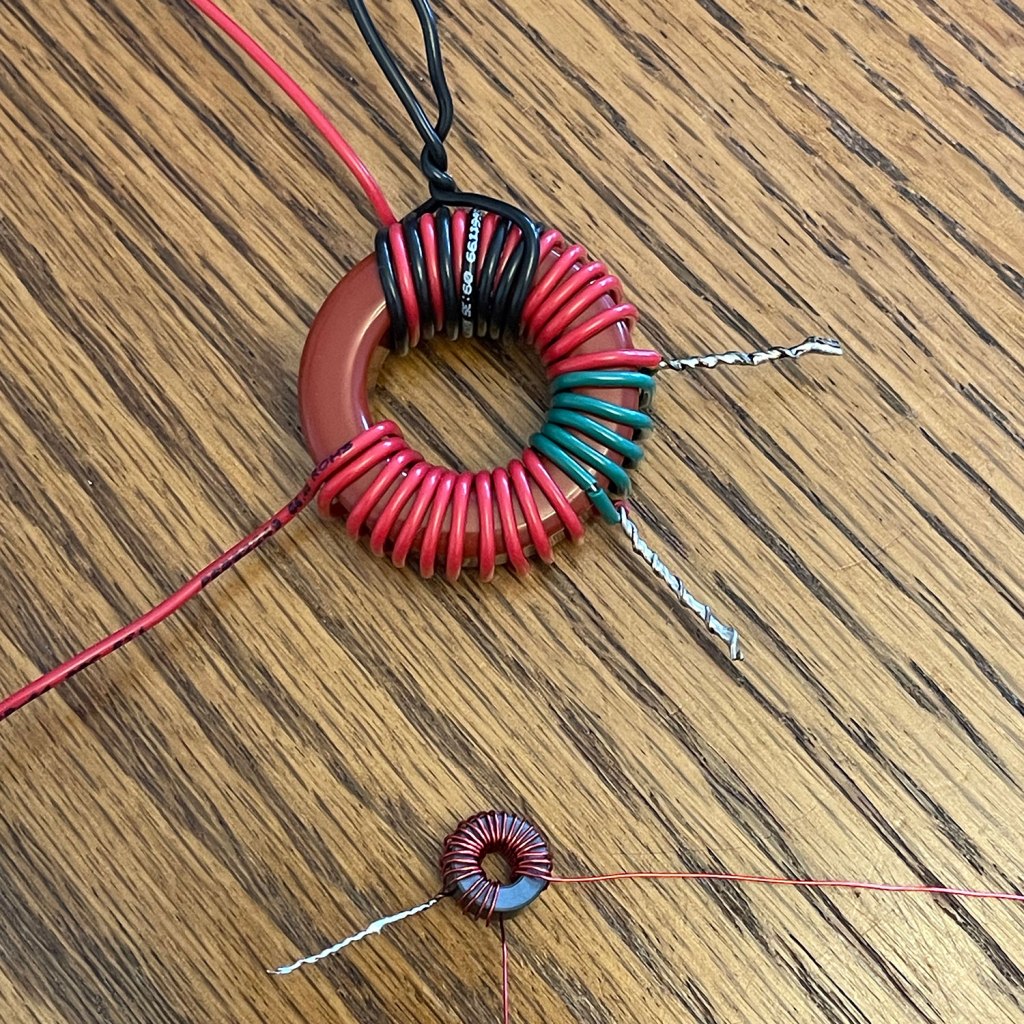
The kit comes with everything you need to complete the building of the ZM-2. There is more than enough solid-core wire and heat-strippable enameled magnet wire to run all of the connections and wind both of the supplied toroids. If you’ve never wound your own toroids, don’t fret, these actually ended up being really simple to complete and with the solid-core wire, it’s made easier since the wire keeps its shape pretty well. The smaller of the two toroids is a bit tricky to solder into its place within the circuit though. That was my only source of frustration during the entire build process.
All said and done, it took me a few evenings to put this kit together, but I could have gotten it finished in a single Saturday had I not taken so many breaks. I’m pleased with how well things turned out.
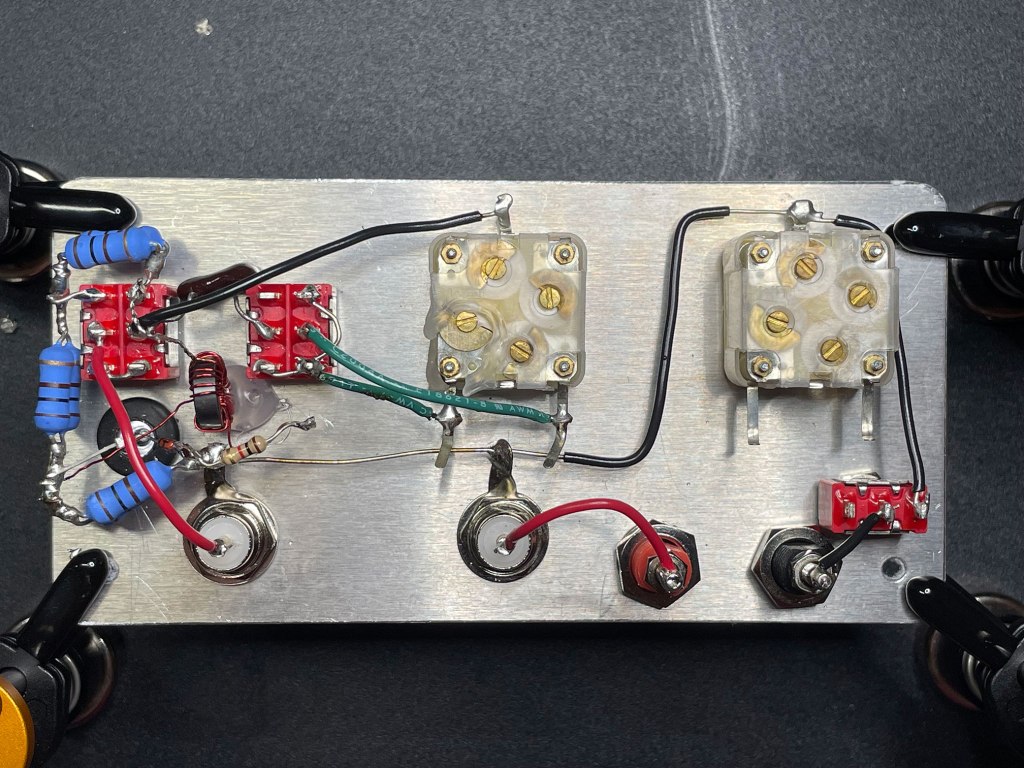
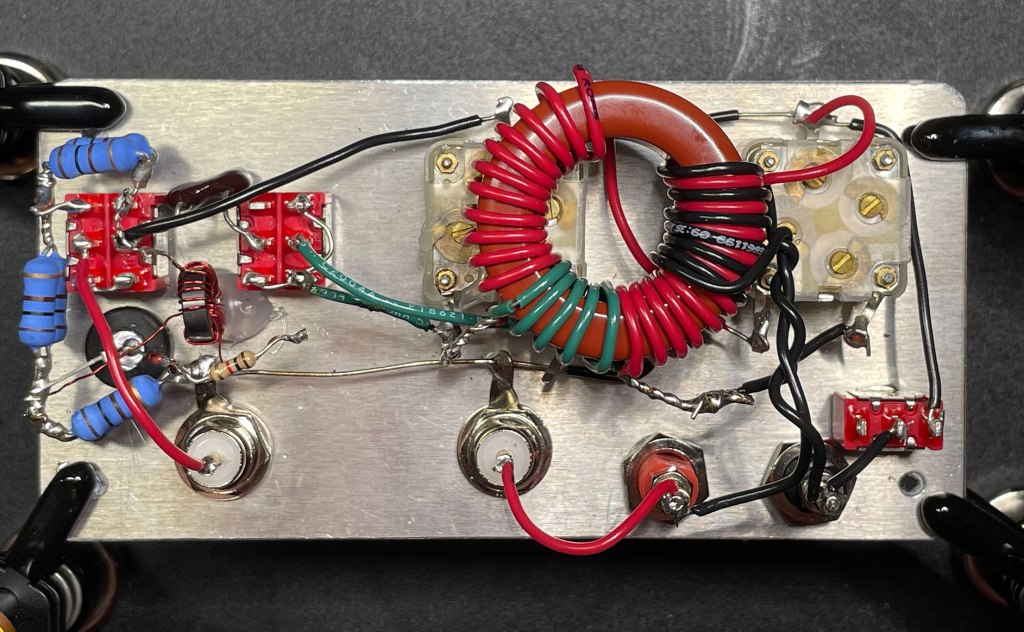
The Emtech ZM-2 Z-match “tuner” has so far tested successfully on the air between the QRP-Labs QMX transceiver and my EFHW antenna here at the house. I was not able to match the antenna on 40 meters, though, but that is probably because the antenna is not long enough.
Using the ZM-2 is fairly straightforward. Once you have everything wired up properly, with the switch in the Operate position, ADD switch set to 0 (middle position), and your radio tuned to where you plan to operate, you rotate both of the knobs on the ZM-2 until you hear the greatest amount of noise. You might have to switch modes to one of the sidebands or if your rig has an AM mode, use that. This may allow you to hear the noise level difference a bit easier.
One you have found the point of highest noise level, flip the switch to Tune mode on the ZM-2. Key up your radio and you’ll see the LED on the ZM-2 glow red. While your radio is keyed, rotate the left and right knobs on the ZM-2 until you see the LED go dark. You may have to use the ADD switch to add either 250 pF or 500 pF of capacitance to get a match. Start at 0 and work your way up if you must do so. Once the LED goes dark, you’ll find that your rig’s SWR meter will show near 1:1. Flip the switch from Tune to Operate and you’re ready to get on the air.
The Emtech ZM-2 is rated to handle up to 15 Watts so it should be perfectly suited for any QRP rig you pair it with. With its BNC / SO239 and binding post connections, it can be used to match just about any antenna system you can come up with also.
More information about the Emtech ZM-2 can be found at the Emtech website.
73,
Matthew K2MAS
As a member of Amazon’s Associate program, I earn a small commission on qualifying purchases made through referrals. This helps offset the costs of hosting this website and are greatly appreciated.
 K2MAS.net